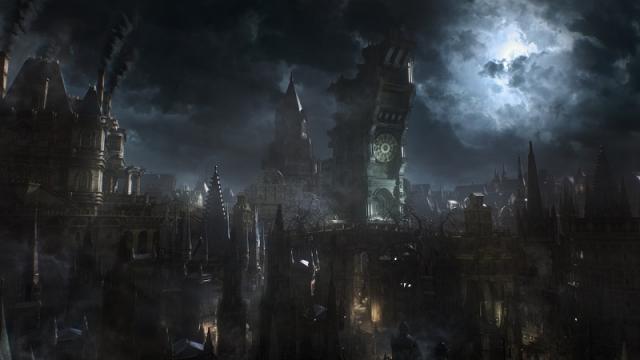
Alas, good hunter, the fifth boss encounter is upon you. Yharnam has been watching you anxiously. Behind closed doors, residents are praying for your victory during the hunt–others, not so much. So be swift, cautious, and remember: blood is divine.
If you’re in need, make sure to look here for tips and guides on your journey.
Preparation First
Head back to the Hunter’s Dream to repair your weapons and fully stock up on needed supplies. Be sure to have Blood Echoes handy for repairs and to purchase these:
- (20) Blood Vials
- (10) Molotov Cocktails
- (10) Antidotes
You’ll also need these:
- Oil Urns (if you have them; these cannot be purchased)
- Very powerful two-handed weapons (suggestion: Saw Spear transformed & fortified as much as possible)
This is only my suggestion, feel free to use whatever you have.
Where is This Guy?
You will find the Blood-starved Beast in Old Yharnam inside a building with torches lighting both sides of the walls.
Items found in Old Yharnam:
- Antidote
- Beast Pellets
- Blood Stone Shard
- Bloodtinge Gemstone
- Coldblood Dew
- Madman’s Knowledge
- Molotov Cocktail
- Poison Knife
- Fire Paper
- Ritual Blood
- Tempering Blood Gemstone
- Thick Coldblood
- Twin Blood Stone Shard
Unique Items found in Old Yharnam:
- Bloody Messenger Head Bandage
- Charred Hunter Set
- Hunter’s Torch
An NPC will give you the Tonsil Stone after knocking on his door and speaking with him.
Battle Tactics
The Blood-starved Beast has 3 different forms that change when his health depletes.
- 1st form at Full Health: He is slow in his normal form
- 2nd form at 2/3 Heath: He is faster, more agile, and will hit you with poison
- 3rd (Final) form at 1/3 Health: He’s insanely fast, aggressive, agile, but will only hit you with poison when you’re near him; it’s best to keep a distance when possible
Note: Make sure to equip Molotov Cocktails, Oil Urns, and Antidotes in your Quick Item Slots.
- Lock-on with the RS or R3 button to guide your Oil Urns and Molotov Cocktails
- Avoid holding the Square button too long to throw them so you don’t over aim; this will cause you to waste your precious asset, which can cost you dearly
- Remember to keep moving at all times
- Never stand still – this will result in your ultimate demise
- Move in with your weapon to make your powerful R1 and R2 button attacks; your visceral attacks will be your greatest assests here
- Quickly back away by using the Circle button
- Press down on the D-pad to select Oil Urns and then Molotov Cocktails for a powerful explosion
- Again, move in with your weapon to make your powerful R1 and R2 button attacks; remembering to keep moving at all times
- Don’t forget to keep a close eye on your health
- Press down on the D-pad to select Antidotes when the Poison indicator is shown or your health will quickly deplete
- Use your Blood Vials to restore your HP by using the Triangle button
- Continue using your powerful R1 and R2 button attacks, combined with the Molotov Cocktails and Oil Urns until he is defeated
Vanquished Foe
Once you’ve defeated the Blood-starved Beast, you’ll unlock:
- Your next checkpoint
- The Blood-starved Beast Trophy
- The Chalice of Pthumeru Trophy
- 6,600 Blood Echoes
- And you can progress to the next stage of the game
Don’t forget to look here for tips and guides on your journey. Good luck and happy hunting.


Published: Mar 28, 2015 11:43 pm